
Makeup photo editing
April 7, 2017 at 5:32:12 PM GMT+3Contents
This lesson is part of a larger section on retouching skin in Photoshop. For a more detailed study of photo retouching we recommend you to read the other articles on the topic:
- Removal of blemishes and skin imperfections
- Quick skin smoothing
- Skin smoothing preserving its texture
- Skin enhancing and adding texture
- Smoothing the skin using the color channels
- Remove or reduce wrinkles
- Removing flash glare
- Skin tone harmonization
- Makeup photo editing
- Creating a porcelain skin effect
- Sharpening of portrait photos
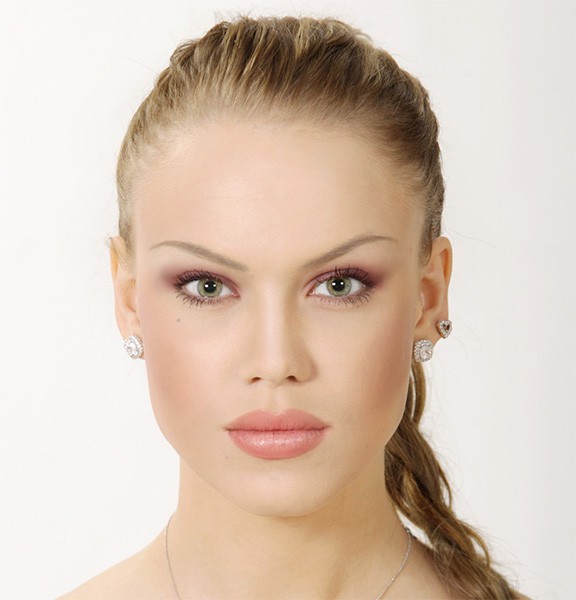
Professional make-up artists are indispensable on the shooting set. Make-up artists can do miracles and make it much easier to retouch images after shooting. The below method cannot replace the work of a professional makeup artist in any way. But if you need to apply a make-up on your own or significantly modify an existing one, this technique is very useful. Let's start to edit the face without any makeup and go through the whole process up to the end.
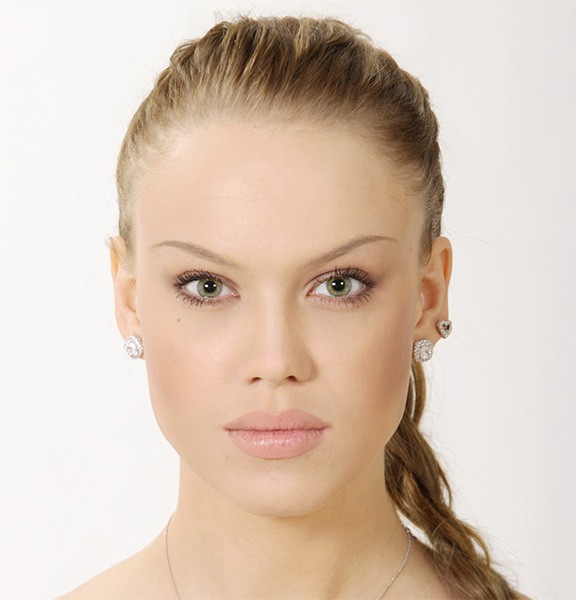
Of course, before applying makeup, you need to remove all the model’s skin imperfections and wrinkles. ( https://photoretouchingservices.net/blog/view/remove-skin-blemishes).
Step 1
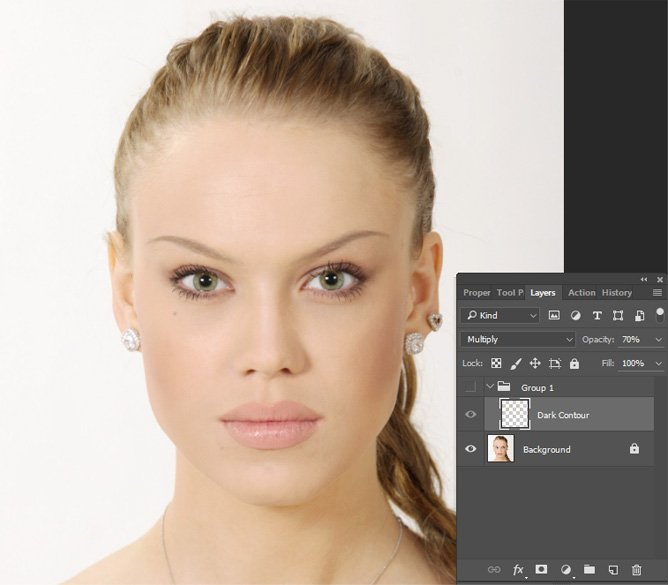
Now will reveal the contours of the face more clearly. You should start with the cheekbones. Create another new layer and name it Dark Contour. Change the blending mode of this layer to Multiply, so the brush strokes obscure the image on this layer. Temporarily switch to use the Eyedropper tool and select a sample of darker skin tones in the shade, as shown in the figure below.
Start with the edges of the cheekbones. In this case, you need to decrease the opacity of the brush to 5%, because the dimming effect is sufficiently strong. Perform brush strokes from top to bottom in this shadowed area, down to lower jaw. Consistently apply a few brush strokes on top of one another to increase the effect up to the desired extent. As earlier, we create the effect on a separate layer, so we are able to mitigate it by lowering the opacity of the layer at any time. (In this case we lowered the value of the Opacity parameter to 70%.)
Step 2
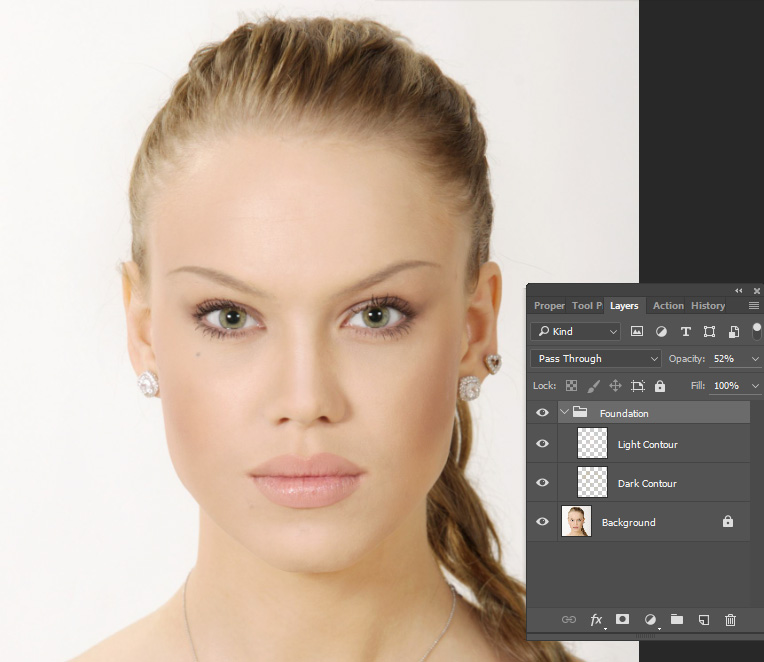
Now will slightly lighten some areas on the model's face. In order to do this, create a layer called the Light Contour and change the blending mode of this layer to Screen, so the brush strokes lighten the image. Set the brush opacity to 10%. Choose the light tone of the skin (e.g. cheek) and brush the semi-circles under the both eyes of the model and draw a vertical line down the center of the nose. The skin on the both sides of the nose, the front part of the cheeks, as well as all protruding fragments of the face can be also a bit shaded. If the effect seems too strong, reduce the opacity of the Light Contour layer (in this case, we reduced the opacity of the layer to 75%).
Step 3
We will create the blush on the model’s cheeks on this layer. The first thing you need is to choose the desired color for blush. Click the thumbnail of the base color on the toolbar to open the Color Picker dialog box. In the Step 1 we highlighted the dark contours of the outer edges of the model’s cheekbones. And now will highlight the cheekbones themselves. Reduce the opacity of the brush to 5% and carefully apply the strokes along the cheekbones using the shade of pink. And if the effect seems too strong, reduce the opacity of the layer on which this effect was created. Once all the above steps are done, hold down the < Ctrl > (<⌘ >) and select all the layers in the Layers panel. In the Layers panel menu, choose the New Group From Layers to merge all image layers into a single group. Name the newly created group “Foundation”. If the created makeup effect seems to be too strong, reduce the opacity of the group (in this case, we have reduced the value of this parameter to 52%).
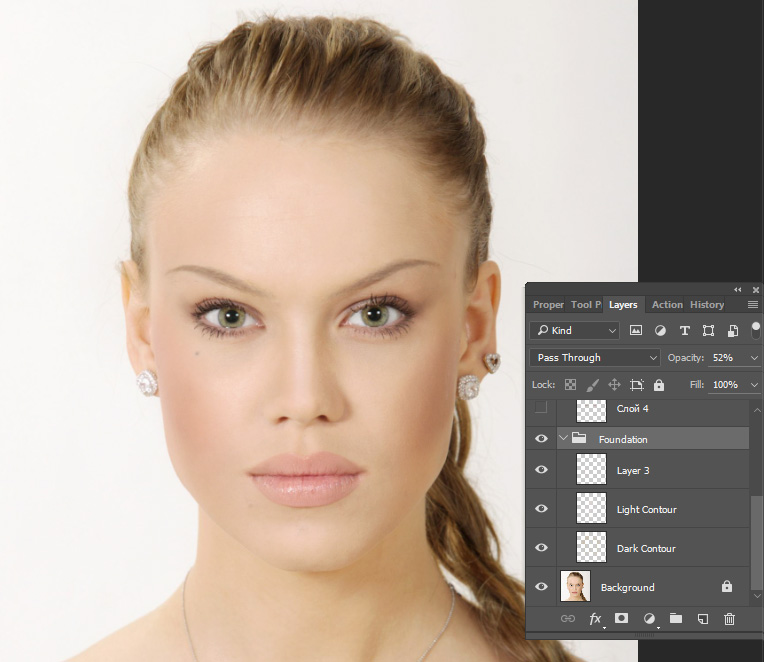
Step 4
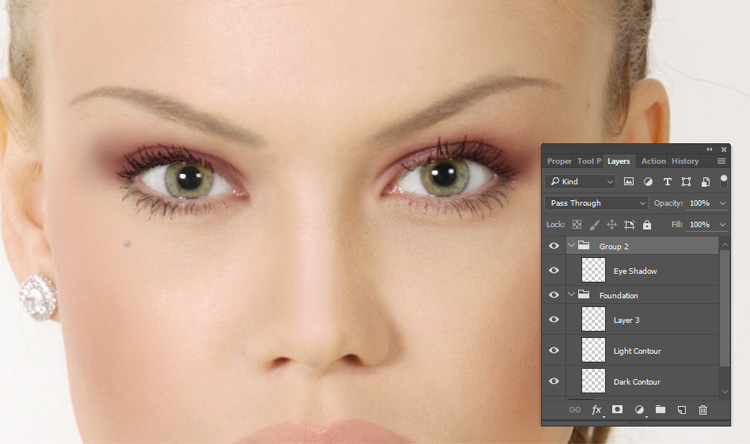
Let’s move to the eyes of the model. Of course we will darken the eyebrows ( https://photoretouchingservices.net/blog/view/the-thick-eyebrows, https://photoretouchingservices.net/blog/view/darkening-the-eyebrows ). After that will apply the eyeshadows. Create a new layer titled Eye Shadow and change its blending mode to Multiply. In this step, you need to use the same brush and the same pink shade as in the previous step. Before you start retouching, you can zoom in the fragment of the model’s eye so that it is easier to work with.
Reduce the brush size and do the drawing on the eyelid. And don't forget to apply the same shadow to the other eye. Now use mascara to create the effect of lush lashes ( https://photoretouchingservices.net/blog/view/enhancement-of-the-eyelashes).
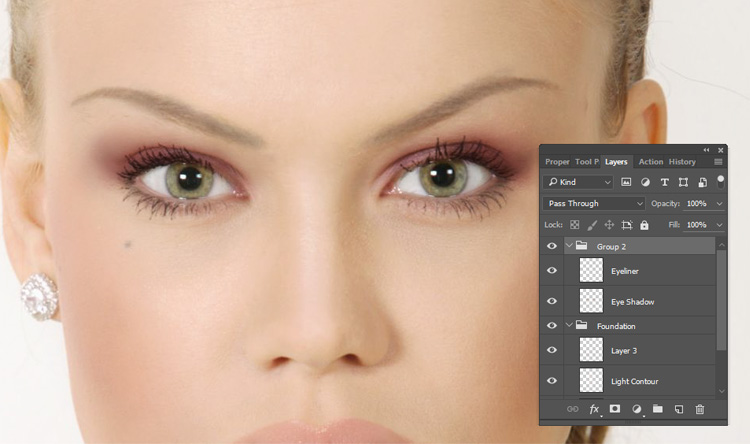
Step 5
Create a new layer called Eyeliner, and change the blending mode to Multiply. The brush settings remain the same as in the previous step, but we need to change the main color in the toolbar. In the options bar reduce the brush size, set the Hardness value to 20% to make the brush a bit stiffer. Make a stroke on the upper lashes line from the inner edge of the eye to the outer. Now in the same way draw a lower lashes line. Don't forget to perform the same actions with the other eye.
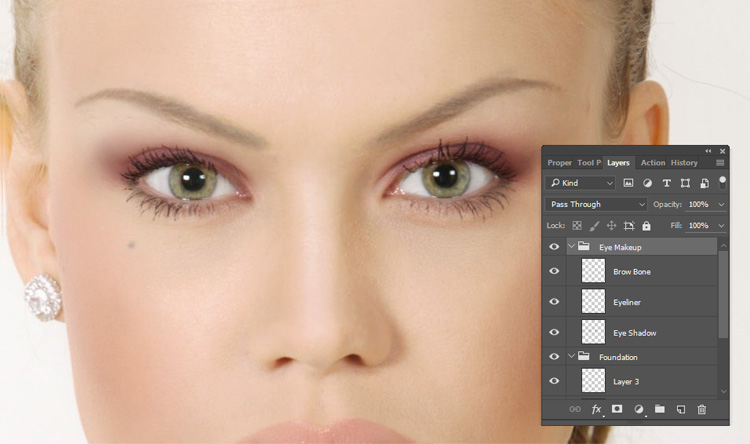
Step 6
Will lighten a bit the skin under the eyebrow to make eyes look bigger. Create a new layer, “Brow Bone” and change its blending mode to Screen. Use the same brush settings as in the previous step, just reduce the value of Hardness setting to 0% to work with a really soft brush. Using the Eyedropper tool, select a light shade of the skin under the model’s eyebrow and with several strokes apply this color underneath the eyebrow to lighten it (the lightening is possible due to blending of Screen mode that is used for this layer).
Step 7
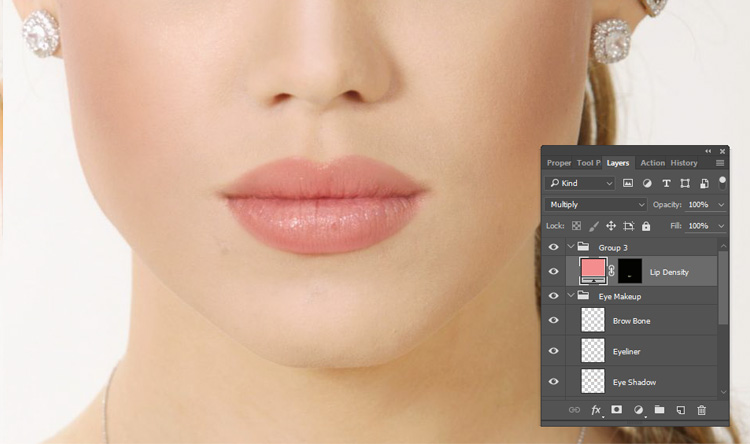
Strengthen the color saturation of the lips. In order to do this, create a new layer “Lip Density” and change the blend mode to Multiply. You can use the selected in the previous step color, as using the Multiply blend mode the application of this color helps to darken the lips. Now draw the lips to make their color darker and richer.
Step 8
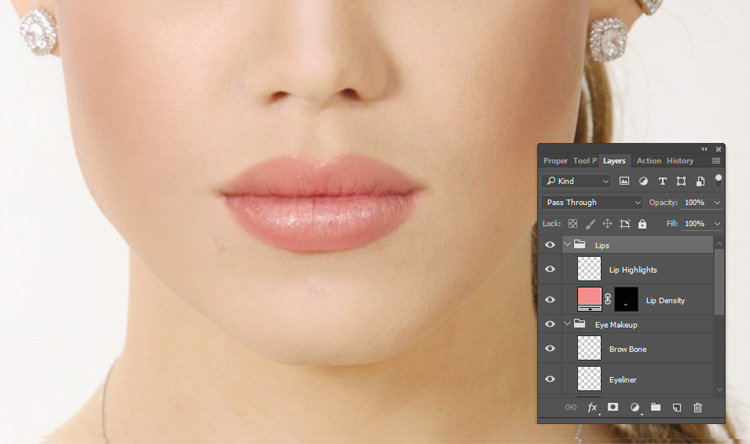
Make lips a bit lighter. Create a new layer “Lip Highlights”. Press key <D> and <X> to choose white as the dominant color. All other settings of the brush stay the same. To lighten the central part of the lips, in the center of the upper and lower lips make some horizontal brush strokes that follow the curves of the lips. If the retouched fragments are too bright, you can reduce the effect by changing the opacity of the edited layer.
Finally, let's place the order on the Layers panel. Merge into the Lips group all the related to the editing of the lips layers.
Video tutorial