
Сontrast enhancement of the pupil
February 2, 2017 at 4:03:52 PM GMT+2Contents
This lesson is part of a larger section on retouching eyes photos in Photoshop. For a more detailed study of photo retouching we recommend you to read the other articles on the topic:
- Contrast enhancement in the pupil
- Darkening the edges of the iris
- Add expressiveness to the eyes
- The creation of new and adjustment of existing glare
- Lightening the whites and the orbits of the eyes
- Remove the red veins in the eyes
- Change the color of the eyes
- Increase and decrease the size of the eye
- To replace one eye with another
- Retouch of the eyelashes
- Correction of the shape of the eyebrows
- The creation of thick eyebrows
- Darkening the eyebrows
- Sharpening the eyes
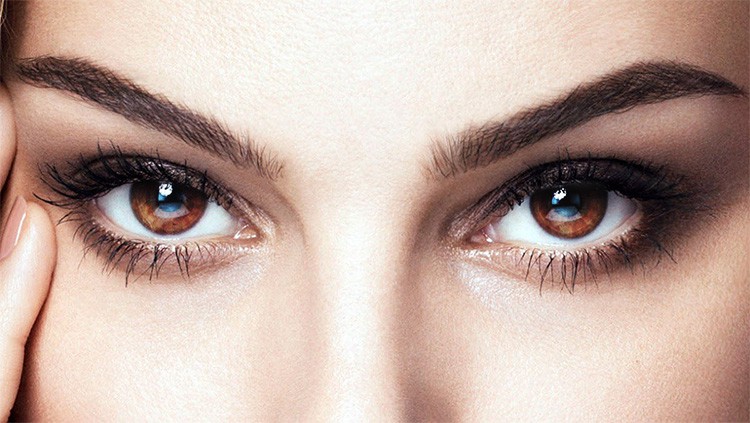
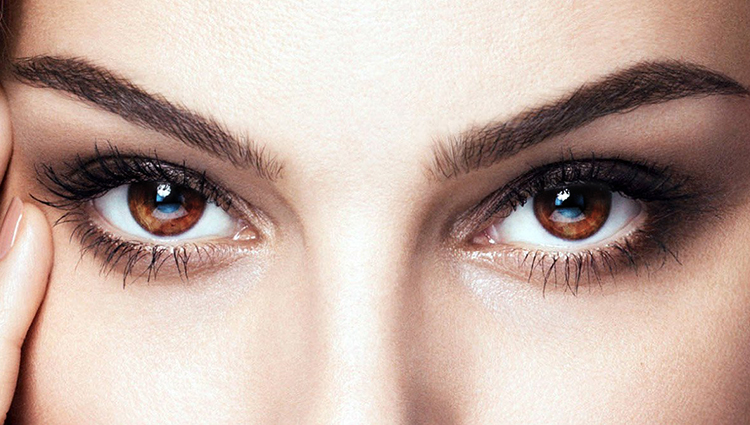
The method implies the drawing attention to the eyes of the model, enhancement of color, and increasing the depth of the eye without artificial colors by the addition of contrast to the pupil. It is a simple method of eyes editing in Photoshop, which brings a spectacular result.

Step 1
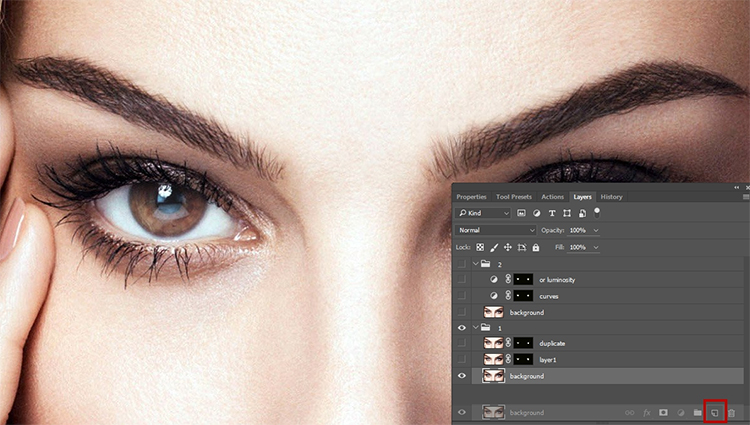
In this case, the eyes of our model look quite pale, like in a haze because of the lack of the contrast. Make a double layer of the background (pull the icon to make a new layer or the RMC foliation -> Duplicate Layer). Now enlarge the section of the picture with the eyes.
Step 2
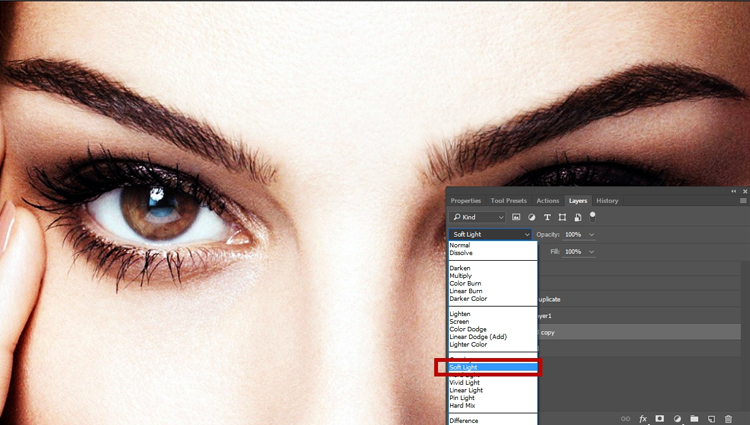
Let’s supplement the contrast. Above the Layers, alter the overlay blend for the duplicated layer to Soft Light.
Step 3
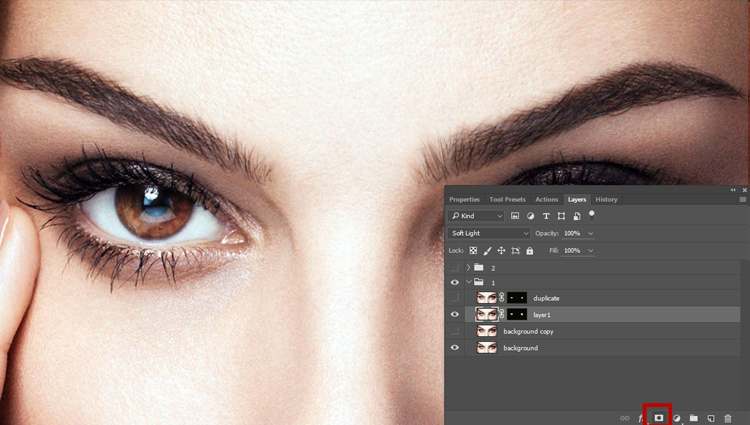
Hold the <Alt> (<Option>) and click the Add Layer Mask in the foot of the panel of Layers. As a result, the contrast version of the picture will be hidden by a black mask (the original version of the picture is still there, you simply can’t see it). The image looks as it looked when you just opened it. With the Brush, sketch the area of the iris and pupil in the model’s photo, restoring a contrast version of the image in this section.
Step 4
Make sure that white is set as a basic color of the picture (since your mask is black, you need to paint on it using the opposite color, i.e. white). In the Brushes palette, find a tiny brush with soft edges. When drawing on the iris and the pupil, you will be regenerating the contrast version of the picture, while the rest of it will remain unchanged. If you make an error while drawing, hold <X> to alter the background color to black and then hide some accidentally restored fragments. Once you correct the mistake, again press <X> to continue drawing on the pupil and finish the work on the creation of a contrast.
Advice: creation of an additional contrast
IF after sketching the iris and pupil of the model, an additional contrast needs to be created in this area, duplicate the top layer of the picture. Since the part of the eye is already masked, this action will lead to the contrast enhancement only in this area.

Advice: use curves when retouching photo
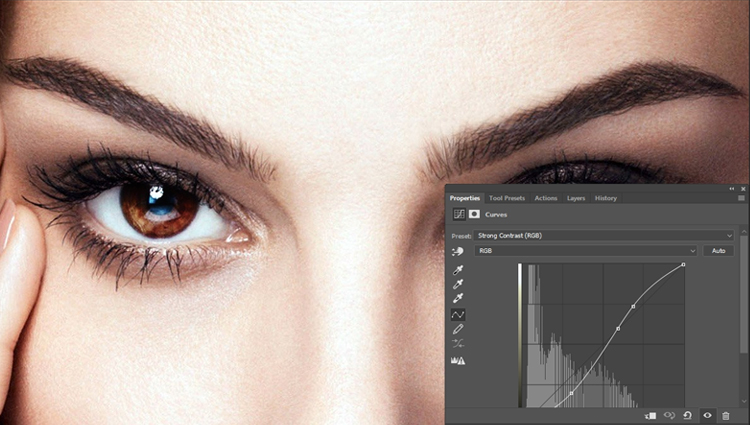
Instead of applying the Soft Light blending mode to supplement the contrast to the eye in a model’s photo, you can use an adjustment layer. Press Create New Adjustment Layer and pick Curves in the appeared menu, and then Strong Contrast (RGB). Apply the key combination <Ctrl + I> (<⌘+ I>) to turn the mask and hide a contrasting version of the picture with a black mask. Set white as a basic color, activate the Brush tool, pick the middle brush with soft edges and the Opacity parameter of 100% and draw the eye section to supplement the contrast (as shown in the picture). After the contrast enhancement, the color of the eyes may change. If you only want to enhance the contrast without affecting the image color, then alter the blending mode Normal to the Luminosity
Video tutorial: Сontrast enhancement of the pupil
Method 2