
Enhance eyebrows in photo
March 1, 2017 at 1:46:25 PM GMT+2Contents
This lesson is part of a larger section on enhancing eyes photos in Photoshop. For a more detailed study of photo retouching we recommend you to read the other articles on the topic:
- Contrast enhancement in the pupil
- Darkening the edges of the iris
- Add expressiveness to the eyes
- The creation of new and adjustment of existing glare
- Lightening the whites and the orbits of the eyes
- Remove the red veins in the eyes
- Change the color of the eyes
- Increase and decrease the size of the eye
- To replace one eye with another
- Retouch of the eyelashes
- Enhance eyebrows shape
- The creation of thick eyebrows
- Darkening the eyebrows
- Sharpening the eyes
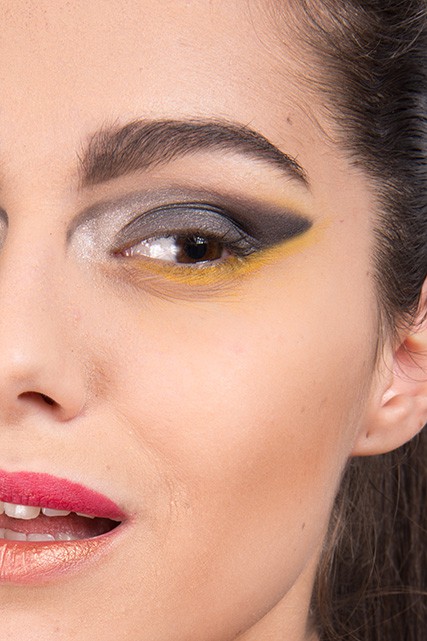
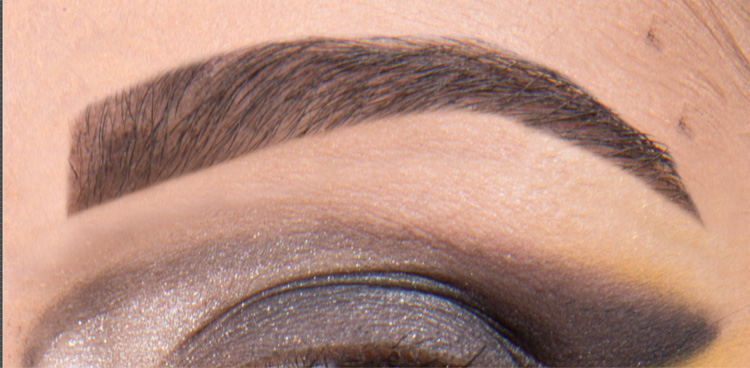
Let us consider one of the stages of retouching, which is often neglected because the results are slightly visible in the photo. However, the effect this creates allows you to give the photos a more professional look. If you use this method in your work for a few times, then you start to notice the images where this technique was not used. The difference for you will be more than obvious.

Step 1
Zoom in on the fragment with the image of an eyebrow and activate the Pen tool <P>. In the options bar click the Paths (Contours). Using the Pen tool create a highlighted area of a shape, which you would like an eyebrow of the model to be. Be sure to consider the natural shape of an eyebrow, because if you won’t, the brows may look unnatural. Just put down the points on the perimeter of the eyebrow shape and these points will be automatically connected by straight lines. With a simple click on the image a reference point is set. If you not only click on the image but drag the cursor, a line that connects two points, can be bent as needed.
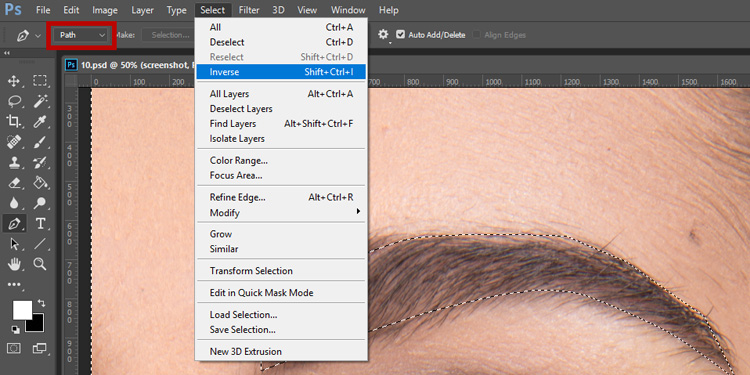
Once the outline is created, you need to turn it into an ordinary selected area. To do this, use the key combination < Ctrl + Enter> (<Ctrl + Return >). After you create a selected area primarily you should remove all the extra hairs that are outside of it. First, invert the selection with the command Select -> Inverse. Now not an image of an eyebrow is highlighted, but all the image except the eyebrows. This is done in order not to accidentally erase the important pieces of an eyebrow, which you would like to keep in the photo.
Step 2
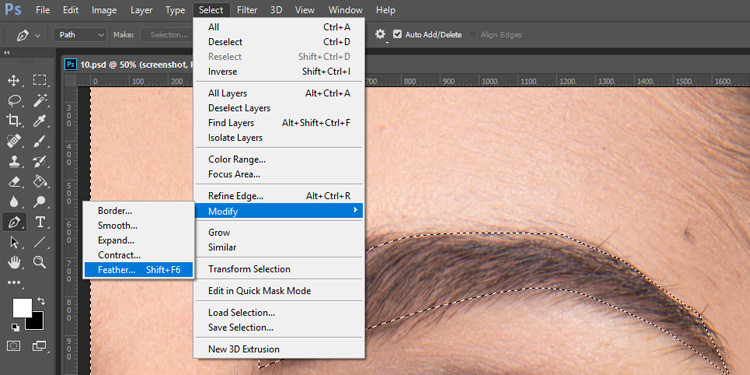
To make the transformation from retouched fragment to the original image more natural, blend the edge of the selection with the command Select -> Modify -> Feather. In the dialog that appears, enter a Feather Selection set to 3 pixels and click OK.
Step 3
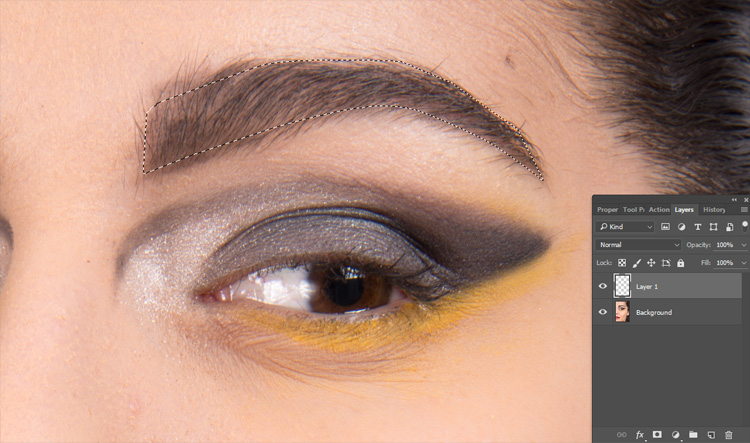
Before you begin retouching, create a new layer by clicking on the Create a New Layer, which is available at the bottom of the Layers panel. Use the key combination <Ctrl + H> (<Ctrl+ N>) to hide the selection (it will remain active, but the dash-dotted line will disappear from the screen, not to interfere the work). To remove excess portions of an eyebrow, use the Clone Stamp tool <S>. In the options bar choose the brushes palette and select a small brush with soft edges. Hold down < Alt > (< Option >), click on the clean area of the skin next to the removed fragment of an eyebrow to set this fragment as the source for cloning. Now draw the extra fragments of an eyebrow.
Step 4
After removal of the upper part of the eyebrow, remove all of the lower fragments in the lower part. If in the different parts of the skin its tone and texture changes, choose new sources of cloning in the vicinity of the removed fragment. All the extra pieces that are outside of the highlighted area (which is still active, but was hidden in step 4) will be deleted.
Step 5
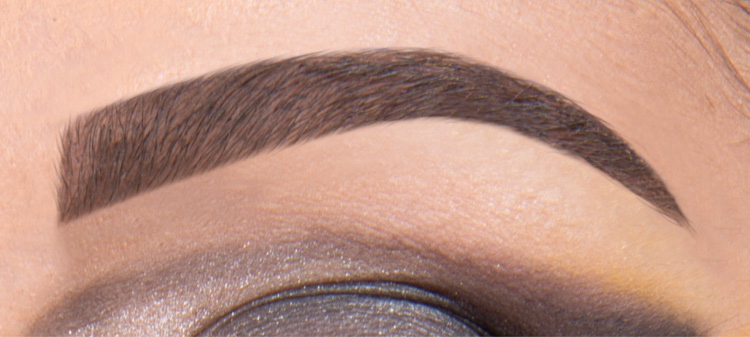
When all the extra pieces are removed, we need to fill in the gaps, which were formed in the selected area. We do it by cloning.First invert the selection with the command Sеlесt -> Inverse. Now only an eyebrow is highlighted in the image. As result of inverting the selected area, the dash-dotted line will appear again on the screen. To hide them, press again the key combination < Ctrl + N > (<Ctrl + N>).
Use the Clone Stamp tool (Stamp), which is still activated. Hold down < Alt > (< Option >), select the pixels to clone them within the highlighted area (in the image of an eyebrow) and copy the selected pixels to the empty fragments. Follow the painting from left to right and be sure to consider the growth direction of the eyebrow hair. If you notice the eyebrow duplicate "image" (some of the elements are repeated on different fragments), cancel the performed action and select a different source to clone pixels. Fill in all the gaps, so that the eyebrow is solid and looks natural, and then deselect by using keyboard shortcuts <Ctrl + D> (<Ctrl+ D >). On the Layers panel select the background layer of the image and repeat all the steps with the second eyebrow of the model.
Video tutorial