
Add expressiveness to the eyes
February 6, 2017 at 3:40:12 PM GMT+2Contents
This lesson is part of a larger section on editing eyes photos in Photoshop. For a more detailed study of photo retouching we recommend you to read the other articles on the topic:
- Contrast enhancement in the pupil
- Darkening the edges of the iris
- Add expressiveness to the eyes
- Create highlights in the eyes
- Lightening the whites and the orbits of the eyes
- Remove the red veins in the eyes
- Change the color of the eyes
- Increase and decrease the size of the eye
- To replace one eye with another
- Retouch of the eyelashes
- Correction of the shape of the eyebrows
- The creation of thick eyebrows
- Darkening the eyebrows
- Sharpening the eyes
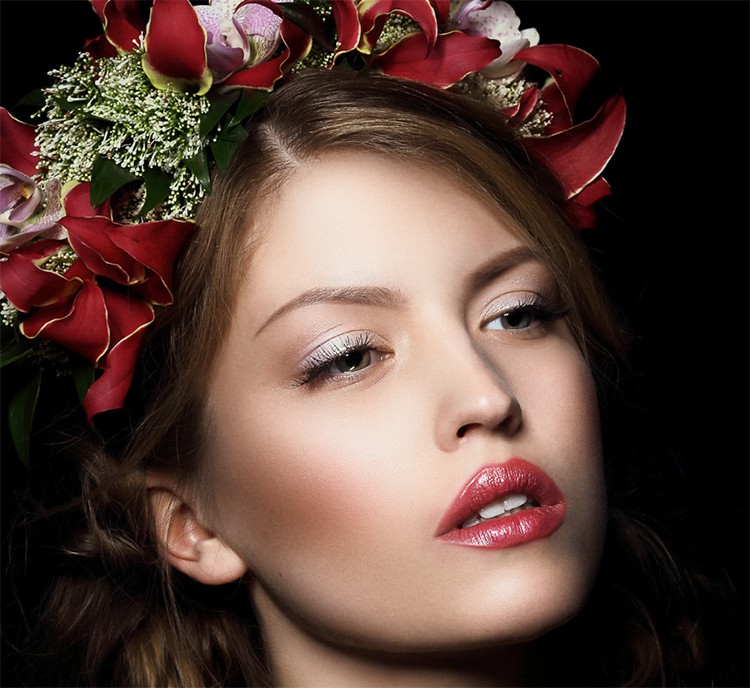
In this article we will consider another method to make the eyes more expressive and add sprinkles to them. Although it is a very simple technique of retouching, you will be surprised, what impressive results it allows to obtain. For this exercise we need the special brushes as eye-lashes that ideally imitate the structure of eye.

Step 1.
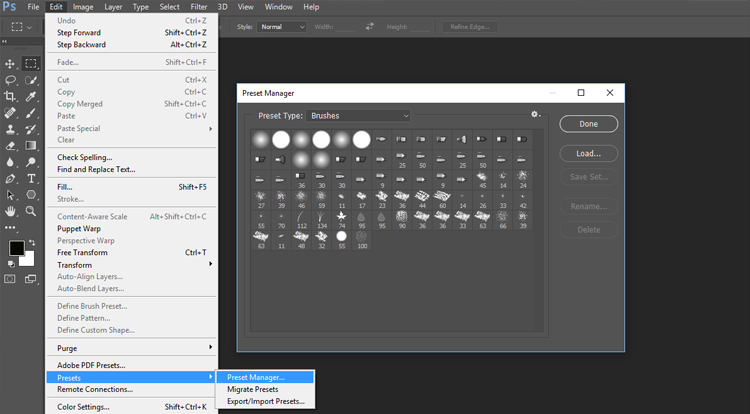
Download the brush set on the link from our site. Unzip the file. In order to load the downloaded brush set, click the menu Edit - Presets Presets - Manager. In the opened window, click Load and select the downloaded file.
Advice: To restore the default set of brushes, open the shortcut menu for managing brushes and select Reset Brushes, as shown in the screenshot.

Step 2.
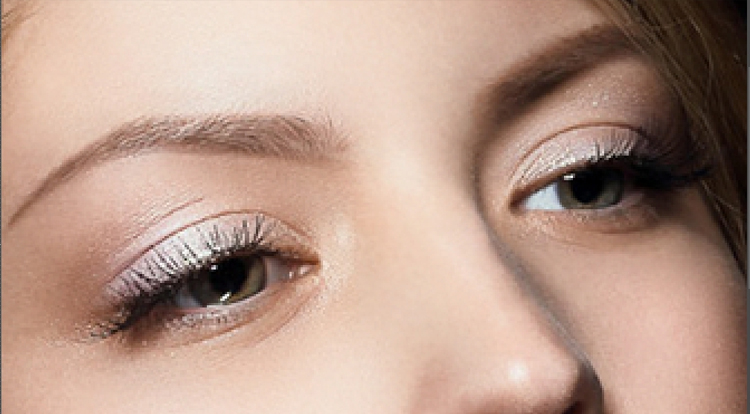
Increase the area of the eyes in the picture. At the bottom of the Layers panel create new layer.
Step 3.
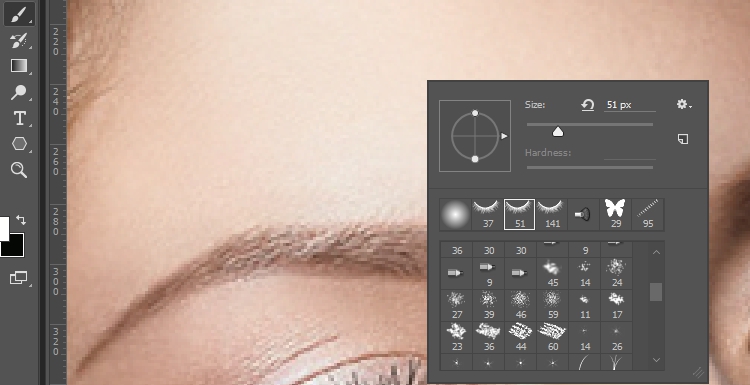
Select white color in the palette, activate the tool Brushes. Choose the right brush and its size.
Step 4.
Make a single click near the pupil. Now use the Free Transform tool to adjust the brush print similar to the pupil. Use rotation and resizing for that.
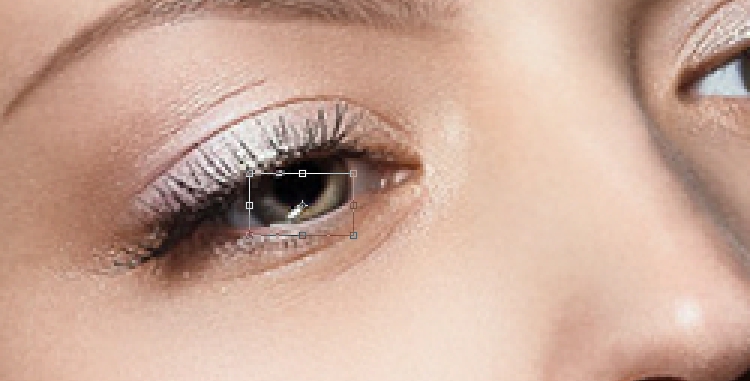
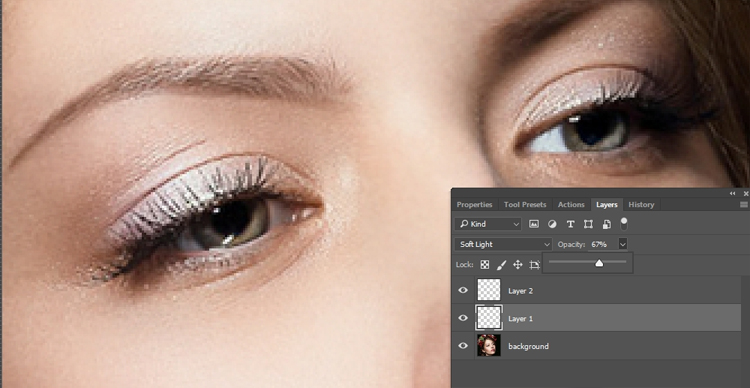
Step 5.
If necessary, you can reduce the effect by using Opacity in the Layers panel.
Video tutorial: Add expressiveness to the eyes